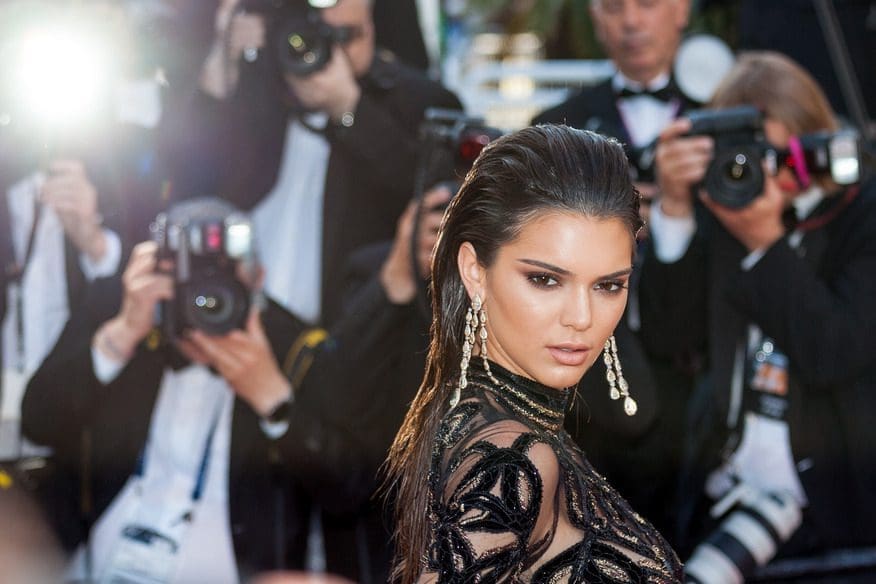
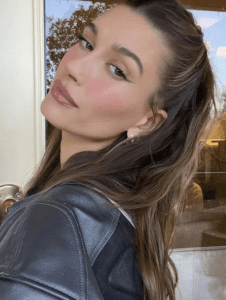
We’re suckers for a good makeup technique – especially ones used on icons like Hailey Bieber and Kendall Jenner. The pair’s makeup artist, Mary Phillips, recently revealed the base routine she uses on the duo that results in healthy, glowing, chiseled skin. This routine is going viral on social media, so grab your makeup brushes and hop aboard the trend train!
The Secret
Before we break it down, let’s talk about the method behind the madness! The key to making the skin look sculpted without being cakey or unnatural is applying concealer and contour before your foundation. It sounds weird, but trust Mary on this one.
 (image via @maryphillips)
This technique works for all skin types and tones, so it’s universally flattering and can be done with both drugstore and high-end products with the same results.
The Technique
Now, this application technique isn’t necessarily new. Underpainting, the act of applying cream-based correctors and sculptors, has been used by makeup artists like Scott Barnes and the late Kevyn Aucoin. The sudden surge in interest is credited to the makeup community on TikTok.
 (image via jones road)
Here’s our step-by-step guide on how to get your skin looking snatched the Mary Phillips way:
- Prime
The goal of this look is to look like you’re lit from within. With that in mind, using a dewy and hydrating primer is your best bet. This preps your face and keeps your look in place while also working as an initial layer of dewiness to make your skin look its healthiest.
- Conceal
Grab your favorite concealers: one in a brightening shade and one in a shade flush with your skin tone. We recommend using the most hydrating formula you have, as this will be sitting on your skin for a bit before blending, and you don’t want it to set before you’ve had the chance to work it in. Use the brightening shade under your eyes, on your chin and forehead, and around your nose to make your face look more awake. Then, spot-conceal using the shade that matches your skin. Let these sit while you move on to the next step.
- Contour
Grab a cream contour of your choice – we love L.A. Girl HD Pro Concealer ($5.49, shop here), but any creamy formula will do – and swipe it onto the areas you normally contour. For most, this may be under the jaw, in the hollows of the cheek, and around the forehead. You can be a little heavier-handed here than you normally would be!
- Blush
Using a liquid or cream blush formula, bring some life back into your skin. You can use as much or as little as you’d like, though, for this technique, you may want to use more than what you’re used to. That way, the color can peek out from underneath your foundation. Try a shade similar to the color of your natural flush so your skin looks more like your own come the finished look.
- Highlight
You may think you look like a clown at this point, but bear with us! Using a cream, liquid, or putty highlighter, glaze the high points of your face for some added shine – for most, this is the brow bone, the high points of the cheeks, the bridge of the nose, and the cupid’s bow.
- Rehydrate
This is an optional step, but if the initial products you applied are starting to dry, dampen your face with a dewy setting spray or a fine mist of water to make your products blendable again.
- Foundation
Now it’s time for the magic to happen! Using a fluffy foundation brush – like e.l.f. Flawless Face Brush ($7, shop here) – blend your favorite foundation over your underpainting. The foundation you wear is a big determiner of how your skin will look. For this technique, it’s best to avoid anything full-coverage. You want the finish of your base to be thin enough for the product underneath to shine through. Light-to-medium is best, but a BB or CC cream would also work!
- Set
After your skin is blended to your liking, lock everything in place using a light powder on any sections you may get a little oily. Use a light hand to prevent your skin from looking crepey. Finish things off with a light misting of a dewy to natural finish setting spray, and you’re more than photo-ready; you’re glowing!