image via pinterest
We have recently been seeing a new wave of nail art on Pinterest that is funky, colorful, eccentric, and detailed-oriented – and, luckily, you can do many of them yourself! They don’t include fancy tools, and you won’t have to worry about perfecting your nails with your non-dominant hand. All you’ll need is nail polish, base and topcoat, a nail brush, and a dotting tool. Here are some of our favorite DIY nail designs.
(image via pinterest via @oliveandjune)
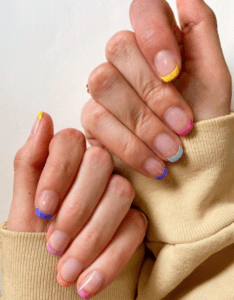
The Colorful French
One of the most straightforward introductions to nail art is the colorful French manicure. Once you’ve applied your base coat and base color, dip your nail brush into your polish of choice and create a dot on the end of each nail. Then, extend the dot into a line reaching both sides of your nail plate. Fill in the tip with your nail polish brush (or your nail art brush if you need more precision). Once you’ve completed your French tips, seal your nails with a topcoat and let them dry.
(image via pinterest)
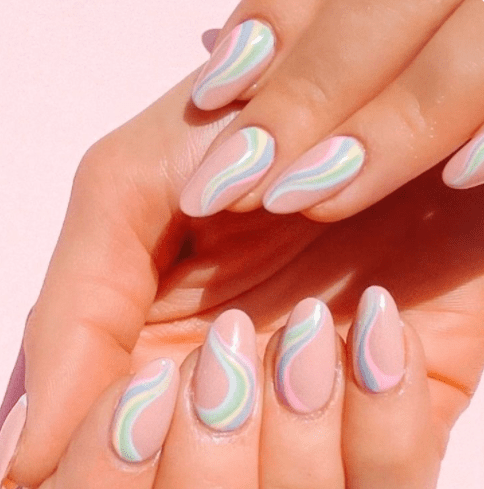
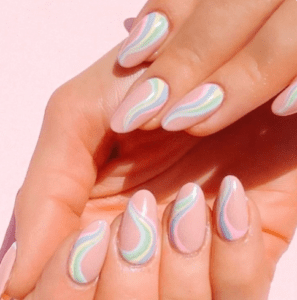
Swirls
Swirls are a fantastic approach to funky nail art: They can be in any color, shape, or thickness you desire. And the best part: Your swirls don’t need to match! After applying a base coat, dip your nail brush into your polish of choice and draw various squiggles to achieve your desired effect. Then, seal them with your topcoat and wait for them to dry. It’s that easy!

(image via pinterest via vypechka-online.ru)
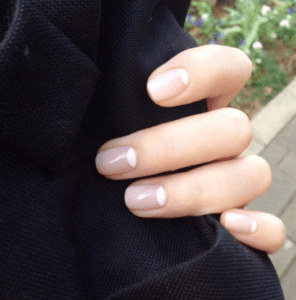
Negative Space
Negative space is all the rage right now, and it offers you endless possibilities to mix and match your favorite colors into one look. For example, you can create a blob shape on the base of your nails and leave the tips empty, or you can create a half-circle along the sidewall. Use a brush if you want more crisp pops of color or a dotting tool for more precise placement on the nails.
(image via pinterest)
Asymmetrical Nails
Think of asymmetrical nails as a cross between a negative space manicure and a French manicure. First, take your nail polish bottle brush from one side of your nail wall and swoop it to your free edge. You should be left with a half-moon shape. You can always clean up the edges with your nail brush and acetone. Repeat these steps on each nail, then apply your topcoat.