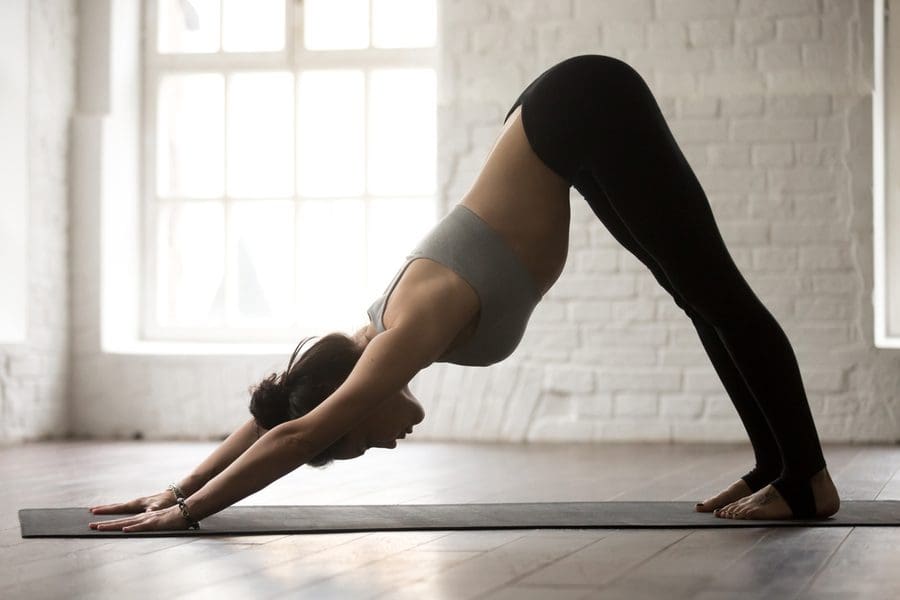
Downward-facing dog is a staple pose in yoga practice, and even in other workout routines. It gently works your entire body, from your fingertips to your toes. That being said, just because it’s gentle doesn’t mean that it’s easy. The basic pose may be an easy stretch for anyone, but nailing the form takes practice. Here are a few tips to level up your downward-facing dog.
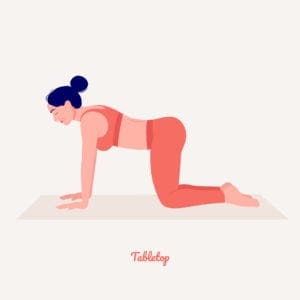
Start in Tabletop
Beginning at the same starting position every time you hit the mat will help you build muscle memory until transitioning into downward dog is second nature.
The tabletop position aligns your body in a perfect foundational pose, with your knees hip-distance apart directly below your hips and your wrists directly below your shoulders. Spread your fingers to help lessen the impact down dog puts on your wrists.
Transition With Purpose
Transitioning from tabletop to down dog takes two simple steps. First, make sure you curl your toes under so that you can push back into the beginning stage of downward-facing dog. Then, push back with your legs and arms, sending your hips up and back as far as they will comfortably go. Keep your core tight.
Ideally, you want your heels and palms on the ground and your back straight. You’ll want to hold this position, muscles fully activated, for several slow, deep breaths.
You’ll notice that most of your muscle groups are working in this pose. Holding downward dog will be difficult at first but will become easier as you get stronger. As you progress, make sure your muscles are activated every time you transition into the pose.
Take the Modifications
As mentioned previously, downward-facing dog is not an easy pose at first. However, there are ways to modify the pose until you’re ready for the full stretch.
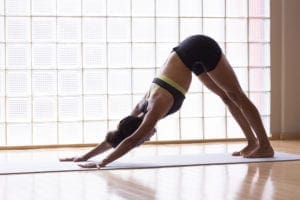
- If you’re working on your flexibility, you can bend your knees and keep your hips back and up. Over time, you’ll be able to straighten them.
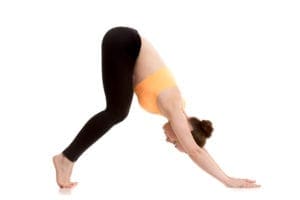
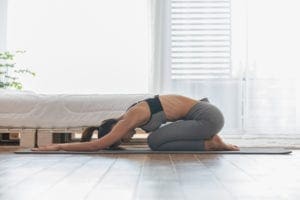
- If you find that you can only stay in the pose for a few breaths, don’t be afraid to rely on child’s pose when you need a break. So long as you are continually challenging yourself, there’s no need to push beyond what’s comfortable for you.
- If your yoga teacher offers additional poses to flow through during downward dog, don’t be afraid to hold the basic pose until you feel ready to take that next step. Everyone is at a different stage in their yoga practice.
Adjust to Fit Your Needs
Downward dog is all about finding your ideal pose for your height and body proportions. A great way to find the right length for you is to utilize the plank position. While tabletop is a great starting point for beginners, plank pose is going to show you where your legs and hands should fall every time—and it’s not the same for any two people.
From a plank, push back and up into downward-facing dog, and you’ll find that your hands and feet are already in the right spot, making it easy to move from plank to down dog in your practice. This transition is a bit harder for the flexibility-challenged, but it really works to ensure you get the most out of the pose. Practice makes perfect!
Once you’ve got downward-facing dog down pat, it’s a relaxing pose that you’ll enjoy as part of your daily yoga practice. But up until that point, you’ll need to work to improve your form and flexibility. Yoga is an exercise in which you’re always working towards improvement, so every time you hit the mat, try these strategies to perfect the crucial yoga pose.

