Nothing screams summer quite like tie-dye. Whether you simply love to wear it or you relish warm, sunny days that you can spend outside making it yourself, tie-dye is super easy, way fun, and we’re seeing it everywhere right now. There’s no time quite like the present to learn about this ancient (yes, ancient) practice.
Before we dive into the tie-dye making fun, here are some interesting tidbits on the origins of tie-dye.
(image via purewow)
Tie-Dye Origins
A lot of us may think the art of tie-dye began in the 1960s, but we’re way off. No, the free-spirited, peace lovin’ hippies actually brought back an old tradition that originated on the other side of the world, in India, the T’ang Dynasty, and Japan (source). If that sounds old, that’s because it is. It’s as old as the 6th century, to be exact.
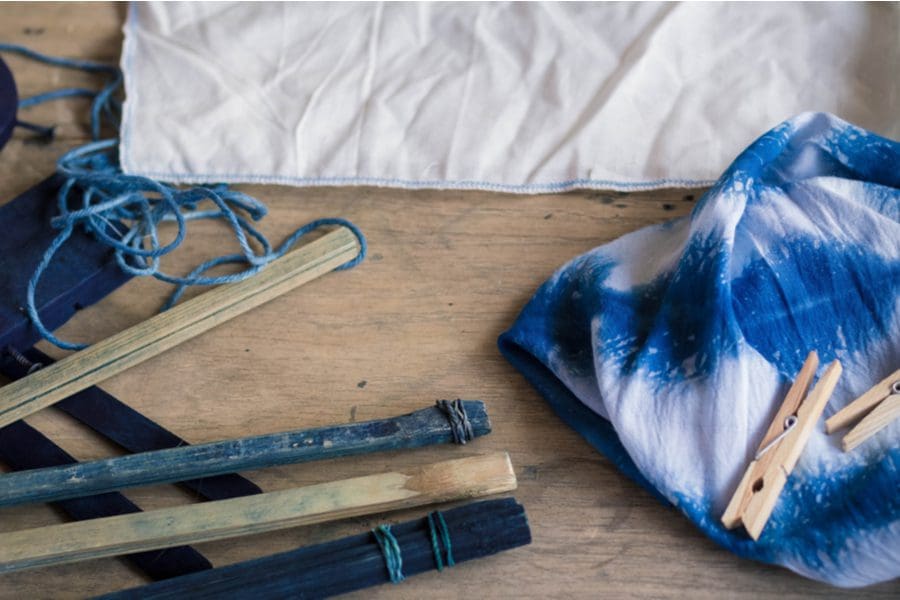
At this time, tie-dye was made by using natural dyes from nature. Berries, flowers, roots, and even leaves were used to color fabric. The process involved boiling these plant ingredients and then soaking the fabrics in the hot and freshly dyed water to add natural color.
Tie-dye only became super popular in the United States during The Roaring 20s, where it gained traction once the Great Depression hit. If you audibly gasped, you aren’t alone, but it also makes sense. During this time people didn’t have a lot of money, and most families struggled to put food on the table, so of course amenities like new clothing or home decor weren’t a top priority.
To help, pamphlets were handed out with instructions on how to add color to clothing and various other fabrics to give the appearance of being new and colorful. Not to get too off-topic here, but people were also encouraged to use old flour, coffee, and sugar sacks to create “new” clothing. And, we’re not going to lie, we’re here for the look.
(flour sack dresses, image via cleveland seniors)
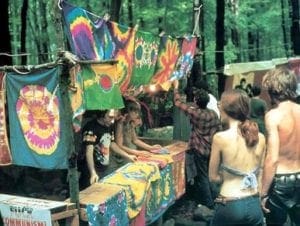
Let’s fast forward to the 1960’s hippie culture. While the art of tie-dye kind of disappeared after the ’20s and ’30s, like most fads, it circled around and became popular again several decades later. In the 1960s, tie-dye was seen as a way to express creativity and achieve the laid-back, lived-in look. Tie-dye was everywhere at this time and remains one of the most iconic garments of the time.
(image via groovy history)
The 1960s isn’t even where the tie-dye craze ends; the fad came back yet again in the 1980s in a brighter, bolder way. Changes in technology meant that tie-dye pieces were of higher quality. The dyes lasted longer and were much brighter than in decades past. We saw tie-dye shirts throughout the 1980s and into the ’90s, and as we know, tie-dye is back and bigger and brighter than ever. (Okay, actually, pastel tie-dye is super cool, too!)
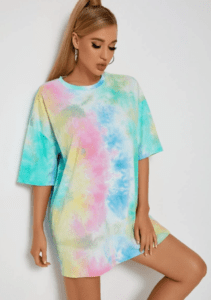
(image via shein)
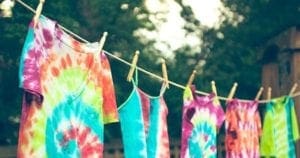
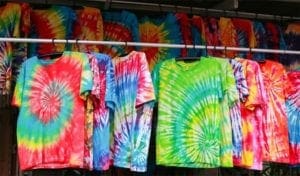
The rest is pretty much history. We don’t foresee tie-dye going anywhere, and we are so okay with that. Today, pretty much any type of tie-dye goes: bright, pastel, bleach, swirls, geode, you name it. The super fun part about tie-dye is you can use just about any type of garment or fabric you like: tie-dye your jeans, t-shirts, hoodies, skorts, sweats, shoes, sheets, tapestries, socks.
If you prefer to buy tie-dye, we totally get it. While DIY tie-dye may be super easy and fun for some, we get that it’s not everyone’s cup of tea; but if you’re interested in giving it a shot, keep reading for the how-to!
Tie-Dye: The How-To
First thing’s first, snag a tie-dye kit because they come with just about everything you need: easy squeeze bottles, dye powder, gloves, rubber bands, and detailed instructions.
Get the supplies: 3-color kit, $9.99 (shop here) / a 5-color kit, $19.99 (shop here) / a 6-color kit, $29.99 (shop here / or an 8-color kit, $14.99 (shop here)
Other materials that will be super helpful to the process: the fabric you want to dye, a disposable surface such as a large trash bag, a resealable plastic bag, and a wire rack (optional).
Before you get started, lay down your disposable surface; this way, if you make any spills, it won’t be a big deal at all, and you can simply toss the surface in the trash.
Ready? Here we go.
- Pick your project. What are you feelin’? We suggest starting simple with a plain white t-shirt. You can snag a whole package of these for just a few bucks. This way, you can perfect your art before you move on to bigger projects. Simply wash your fabric to rid it of shrinking, then keep it damp for the dyeing process.
- Prep your dye. This may sound intimidating, but it’s actually super easy! All you have to do is add water to the bottle, add dye, and shake it up.
- Next, bind your fabric. There are a ton of different ways to do this, and no one way is better than the other; it’s all about how you want your shirt to look. The classic tie-dye spiral is a nice go-to, and this can be achieved by pinching the fabric at a center point and twisting it into a spiral. Secure the shirt with about three rubber bands, crisscrossing each one to create six wedges.
- Next, the fun part of applying the dye! Once again, there’s no right or wrong way to do this; it all depends on what colors you love and want to work with.
- Let your garment set. This next step involves patience and lots of it. Keep the fabric bound. Then, place it in your plastic bag, seal it, and let it set for roughly 6 – 8 hours, so the fabric can absorb all the color from the dye.
- Remove your garment. Once your fabric has been processed, remove the shirt from the bag, remove the rubber bands, and admire your work.
- Wash and dry it. Before you can wear your creation, you’ll need to wash and dry it. Warning: don’t wash it with other clothes, unless you want your fav shirt to change colors!
- Give it a go. After you wash and dry your shirt, it’s time to wear your creation.
(image via the adair group)