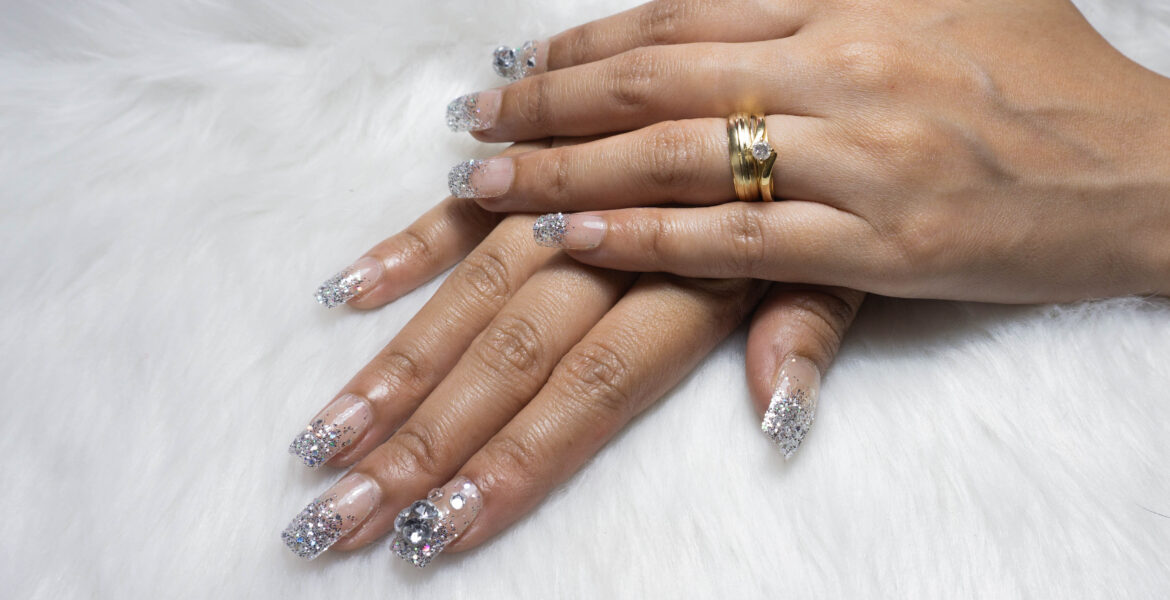
Admittedly, when press-on nails began to have their comeback moment, we had some serious reservations. But the press-on nails of today are a far cry from the flashy press-ons of years ago. Let’s get into it.
A Little History Lesson
If you’re like us, when you think press-on nails, you probably think ladies of the ’80s or maybe early ’90s, but modern-day artificial nails actually date back to 1932 when Chicago dentist Maxwell Lappe created artificial nails for patients who bit their nails to (hopefully) get them to stop. The purpose was strictly practical. Now, fast-forward to the glamorous days of the 1950s and ’60s. During this time acrylic nails were being applied by salon professionals only, a luxury few could afford. By the 1970s women could purchase their very own press-on nails for a fraction of the price of a nail salon. Then the ’80s and ’90s brought us an array of sizes, colors, and designs that appealed to its broadest demographic yet. Today, the press-on nail industry is booming with options becoming more and more inclusive, innovative, and accessible. Thanks to TikTok, we know now that more and more people are opting to do their own salon-quality press-on nails in the comfort of their own homes for a fraction of the price. Today’s press-ons last anywhere from two weeks to an entire month and have become a regular part of the DIY girlies’ at-home maintenance routine.
Making Them Count
Tired of overpaying at the nail salon? We hear you loud and clear. Whether you’re trying them out for the first time or looking to perfect the art, here are a few tips to get the most out of your at-home mani.
Never Skip Prep
First up, you’ll want to prep your natural nails by soaking them in warm water for a few minutes to soften the cuticles, then using a pushing stick or wooden cuticle stick, push the cuticles back. Next, clip the excess cuticles with a nail clipper. Once your cuticles are looking good, it’s time to file your nails down to the length and shape you want. And last but not least, swipe nail polish remover or alcohol over your nail to remove any remaining oils. After doing this, your nails are officially prepped. We recommend never skipping the prep step of your manicure because following through ensures a long-lasting manicure
Choose Your Press-Ons
As we mentioned, nail kits come in all shapes and sizes, so part of the fun is choosing your next manicure. Sometimes finding just the right nails takes a little trial and error, but don’t forget that you can ways reshape a press-on. If they’re a little big, they tend to pop off easily, so make sure to take the time to size match and file so they are the perfect fit. Most press-on kits have tiny numbers on the nail that you can use as a guide when you’re looking for the right one.
Our Pick: KISS Salon Acrylic French Manicure Set ($6.97, shop here)
Time to Apply
Once you’ve got all of your nail sizes chosen, make sure you’ve laid them out in order, and starting with your pinky, you’ll want to apply a small amount of glue on both your natural nail and your press-on. Next, hold the nail straight and lay it on your natural nail above your cuticle line. Once you’re aligned, press gently and hold the nail down on your nail bed for 10 – 20 seconds to ensure it’s secure. Once your nails are secure, you can file and shape, and your manicure is complete. Nab this viral glue from Sally Hansen to make your manicure go the distance:
Our Pick: Drip & Clog Proof Nail Glue ($6.49, shop here)
A Couple Things…
- We highly recommend purchasing a small bottle of nail glue to throw in your bag to have on you at all times because mishaps happen, but if a nail pops off, all you have to do is simply glue it back on.
- If you’re someone who can only look at the same manicure for so long, we totally get it. This is a big reason we are so pro-press-on. Press-on manicures last on average, two weeks, which is coincidentally about how long we can go before we get tired of our nails. And the best part? You aren’t out another $40+ for a manicure or left waiting until your budget allows a fresh set.
- Make your kit last even longer by filing and shaping the nails that are too big. This takes a little time and effort, but a great option if you’re in between nail sizes or if you lose a nail and need to improvise in a pinch.


