If you’re ready to master the art of concealer, you’ve come to the right place. Whether you deal with whiteheads, cysts, acne, scarring, or any other blemish, use these tips, and you can finally conceal them once and for all!
Prep
It’s always recommended to apply makeup to clean and hydrated skin, so the best place to start concealing blemishes is by regularly cleansing your skin, hydrating with a moisturizer, and wearing high-quality sunscreen. This will create a smooth and seamless base for all your makeup products to apply like butter.
Set
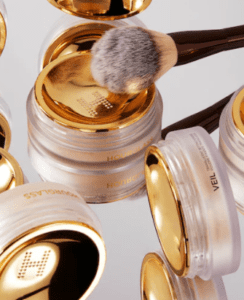
For this step, you will need a finely milled translucent powder like Hourglass’ Veil Translucent Setting Powder ($46, shop here). Use a fluffy brush to pick up a small amount of powder, tap off the excess product, and lightly dust over your blemish. This light dusting will act as a primer to keep oils at bay and allow the rest of your products to have a smooth base to latch onto.

Foundation
If you plan on wearing foundation, now is the chance to apply it. Choose a foundation you know and love and one that will be comfortable to wear. This technique will work well with both full and light coverage, but if foundation isn’t for you, skip this step and head straight to the concealer.
Conceal
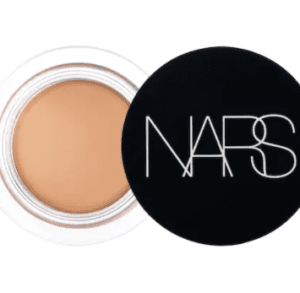
Now it’s time for the main event: the concealer. It’s ideal to choose a concealer with full coverage or a medium-full formula with buildable coverage. We like Nars’ Soft Matte Complete Concealer ($30, shop here), which comes in 30 different shades. It’s crucial to pick a concealer that is the same tone as your skin or one shade darker. A concealer that is too light can actually bring more attention to your blemish! It can also make the skin appear gray and dark.

Once you have your concealer, use a packing brush to apply it to your blemish. You will want to pack on the concealer, and that’s it – don’t blend just yet! The trick is to leave your concealer sitting unblended on your face to achieve maximum coverage.
Rest
This step is where you let the concealer dry slightly so that you don’t move or take away the product when you start blending. If you blend too soon, you will have to keep layering on product, which can result in an undesired cakey look.
Blend
Once your concealer has rested for two to five minutes, it’s time to blend out the edges. Take a synthetic fluffy crease brush and slowly buff out the edges around the blemish, avoiding where you applied the concealer directly.
Set (Again)
Now it’s time to seal all your work into place. Take your finely milled setting powder and fluffy brush and gently pat the powder over the blemish. Don’t swipe, rub, or wipe the brush back and forth since this will risk moving the concealer. Then, for an extra layer of protection, set your face with a setting spray.
Voila! Now you won’t have to stress next time you experience an uninvited visitor on your face!


